No. FRP rebars should not be bent on site. If bent shapes such as stirrups or hooks are required, they must be factory-manufactured. On-site bending can damage the internal fibers and reduce strength.

Resources
3
Mar'26How to Install FRP: Installation Guidelines
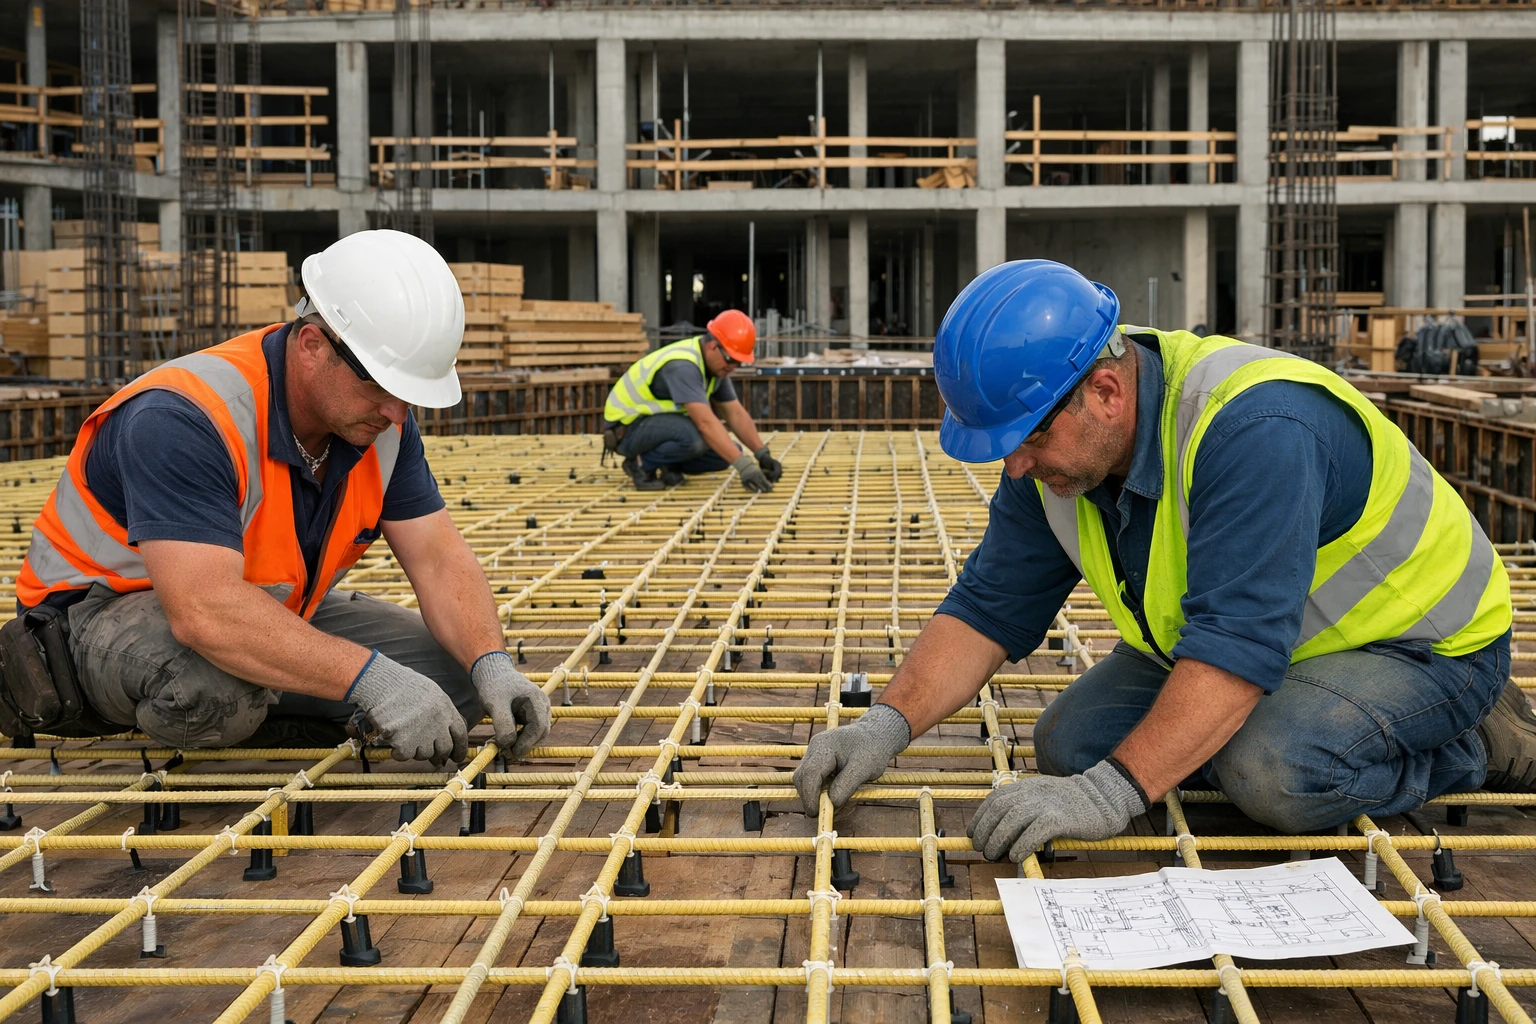
Proper FRP installation is the difference between success and failure. While Fiber-Reinforced Polymer (FRP) bars may look similar to traditional steel rebar at a glance, they are fundamentally different in behavior and must be treated as such on-site. Following correct installation practices ensures structural safety, long-term durability, and the corrosion-resistant performance that makes FRP a superior choice.
This guide provides practical, step-by-step instructions for installing FRP reinforcement in concrete structures, helping contractors and site engineers avoid costly mistakes.
Why FRP Requires a Different Approach
FRP reinforcement has become the material of choice for structures exposed to moisture, chemicals, and corrosive environments. Its high tensile strength and immunity to corrosion make it ideal for:
- Bridges and highway infrastructure
- Marine structures and waterfronts
- Water and wastewater treatment plants
- Basements and foundations
- Coastal construction
Before proceeding with installation, it is important to understand the FRP benefits and limitations.
However, because FRP is a composite material (fibers embedded in a polymer resin), it cannot be treated as a direct replacement for steel. To get the most out of FRP reinforcement on your project, it’s also critical to follow proper FRP design practices.
Manufacturers such as Tapashri Engineering provide detailed technical guidance to ensure FRP is installed correctly and performs as intended. Always consult project specifications and manufacturer recommendations alongside this guide.
Phase 1: Pre-Installation Planning
Review Structural Drawings Carefully
Before material arrives on-site, verify every detail:
- Bar diameters and grades
- Spacing requirements
- Development and lap lengths (FRP typically requires longer lap lengths than steel)
- Anchorage details
- Concrete cover requirements
Storage Guidelines
Improper storage is a common cause of surface damage:
- Store bundles on wooden supports or pallets, never directly on soil
- Keep bars aligned and avoid excessive stacking that can cause deformation
- Protect from prolonged direct sunlight if stored outdoors for extended periods (UV exposure can degrade the resin)
- Keep away from sharp edges, forklift traffic, or heavy loads that may cause surface abrasion
Remember: FRP bars are lightweight, but surface damage can significantly affect long-term performance.
Phase 2: Handling and Transportation
FRP is strong in tension but vulnerable to impact and abrasion:
- Do not drag bars across rough ground or concrete
- Avoid dropping bundles from heights
- Use nylon or fabric slings, never metal chains for lifting
- Prevent heavy machinery from running over stored material
- Educate workers that FRP is not "indestructible" like steel
Phase 3: Cutting, Bending, and Fabrication
Cutting FRP Bars
FRP bars must be cut using specialized tools:
- Diamond blade saw
- Carbide-tipped cutting tools
- Abrasive cut-off wheels (if approved by manufacturer)
NEVER use gas cutting torches, welding equipment, standard steel rebar shears.
Safety First: Always wear gloves, eye protection, and dust masks during cutting to avoid skin irritation from fibers and inhalation of dust.
Bending Guidelines
FRP rebars are generally not bent on-site. Unlike steel, FRP cannot be cold-bent without risking internal damage.
If bent shapes are required such as stirrups, hooks, or seismic ties, they must be:
- Factory-manufactured to exact FRP specifications
- Produced following the manufacturer's minimum bend radius
- Delivered to site ready for placement
Attempting to bend FRP bars on-site can lead to micro-cracking, fiber damage, and structural weakness.
Drilling and Anchoring
If anchoring is required:
- Use only approved anchoring systems designed for FRP
- Follow manufacturer installation instructions precisely
- Avoid over-tightening fasteners, which can crush or notch the bar
Phase 4: Placement and Fixing in Concrete
Bar Placement
Position FRP reinforcement exactly as shown on design drawings:
- Maintain specified spacing using bar chairs
- Ensure proper concrete cover is achieved
- Use dedicated supports designed for FRP
Critical Warning: Because FRP is significantly lighter than steel, it tends to float or shift during concrete placement if not secured adequately.
Supports and Chairs
To maintain the corrosion-free nature of the reinforcement:
- Use plastic chairs, FRP supports, or non-metallic spacers
- Avoid steel chairs unless explicitly approved in the structural design
- Consider continuous rail supports for long spans in slabs
Tying Methods
Bars can be tied using:
- Plastic cable ties (zip ties) – the preferred method
- Coated tie wire (if specified in the project documents)
Do not over-tighten ties. Excessive pressure can cut into or damage the bar surface, creating stress concentrations.
Lap Splicing
FRP typically requires longer lap splices compared to steel.
- Follow the design-specified lap lengths without exception.
- Ensure full contact and proper alignment between lapped bars.
- Never assume steel lap lengths are acceptable for FRP.
Phase 5: Concrete Pouring Considerations
The pour itself requires extra vigilance:
- Verify all bars are firmly tied and supported before the truck arrives.
- Avoid direct contact between heavy vibrator heads and FRP bars. Vibration should be applied to the concrete, not the reinforcement.
Continuously monitor for displacement during pouring, especially in:
- Slabs (bars can float to the surface)
- Walls (bars can shift sideways)
- Beams with heavy congestion
After pouring, a quick visual check can confirm bars have not moved from their intended positions.
Phase 6: Quality Control and Inspection
Inspection is your final safeguard. Before concrete placement:
| Check |
What to Look For |
| Spacing & Alignment |
Bars are straight, at correct centers |
| Concrete Cover |
Chairs and spacers provide correct cover depth |
| Lap Lengths |
Splices meet specified dimensions |
| Bar Condition |
No visible cracks, gouges, or surface damage |
| Bar Type |
Correct diameter and grade are being used |
| Cut Ends |
No splintering, fraying, or fiber exposure |
Any damaged bars should be evaluated by the engineer before use. When in doubt, replace it.
Safety Guidelines
While FRP is easier to handle due to its lightweight nature, basic safety measures must be followed:
- Wear gloves to prevent skin irritation from glass or carbon fibers.
- Use eye protection when cutting (fibers can become airborne).
- Wear dust masks during cutting or grinding operations.
- Keep the site clean of cut fibers and dust.
- Train all workers before installation begins. Awareness reduces mistakes and improves safety.
FRP vs Steel Installation: Key Differences
Aspect | Steel Rebar | FRP Rebar |
| On-site bending |
Standard practice | Not recommended (must be factory-made) |
| Cutting method |
Gas torch, saw, shears |
Diamond blade or carbide-tipped saw only |
| Weight |
Heavy |
Lightweight |
| Lap length |
Standard |
Generally longer |
| Corrosion protection |
Often required (epoxy, coating) |
Not required (inherently corrosion-resistant) |
| Tie Material |
Steel tie wire |
Plastic ties or coated wire |
| UV sensitivity |
None |
Requires protection during storage |
Understanding these differences between FRP and steel prevents site-level errors.
Common Mistakes to Avoid
- Bending FRP bars on-site – leads to hidden structural damage.
- Using steel cutting or welding tools – destroys the composite structure.
- Applying steel lap length rules to FRP – creates bond failures.
- Failing to secure bars properly – results in floating or displacement during pour.
- Dragging bars on rough ground – abrades the surface, reducing durability.
- Ignoring manufacturer instructions – the most preventable mistake.
Most installation problems occur when FRP is treated exactly like steel. It is not steel, and installation practices must reflect that.
Installation Done Right: The Key to FRP Success
FRP reinforcement offers strong, corrosion-resistant performance, but only when installed correctly. The key principles are straightforward:
- Follow design drawings strictly.
- Avoid on-site bending.
- Use proper cutting tools.
- Secure bars firmly before pouring.
- Inspect before concrete placement.
With proper handling and installation, FRP reinforcement delivers long-term structural reliability with minimal maintenance, making it a smart investment for any project requiring durability in harsh environments.
Frequently Asked Questions (FAQs)
Find clear answers to the most common queries.
-
Can FRP rebars be bent on site like steel bars?
-
Are lap lengths for FRP the same as steel reinforcement?
No. FRP typically requires longer lap lengths compared to steel. Always follow the structural design drawings and manufacturer recommendations for correct lap splice length.
-
Can FRP rebars be cut using normal steel cutting tools?
No. FRP rebars must be cut using diamond blade or carbide-tipped tools. Gas cutting or welding methods should never be used.
-
Do FRP rebars require special support during installation?
Yes. Since FRP is lightweight, it must be properly secured to prevent movement during concrete pouring. Plastic or non-metallic chairs and spacers are generally recommended.
-
What should be checked before concrete pouring?
Before pouring concrete, verify spacing, alignment, cover distance, lap lengths, and ensure there is no visible damage to the bars. Proper inspection prevents issues after casting.
Subscribe to Our Newsletter
Get updates on products, research collaborations, and new developments in FRP technology.

Subscribe to Our Newsletter
Subscribe our newsletter and get notifications to stay update